Mudpile Mokume Gane
I was such a dingbat when I first bumped into this idea that I wasn't even clear on just how many different ways of making this stuff already existed. And I surely didn't know that these little pieces that you shave off were what most people used to make things... I thought that the mokume gane *pad* was what you were after. *g* Live and learn. Or gee... live and don't learn, that's my motto.... anyway, I found this kind of cool use for scraps, and though my experience in the last two years has shown me that I was almost certainly not the only person who'd tried this same thing, I was the only one naive enough at the time to think I was, and to write about it on the internet. *g* Ain't humans a gas?
Materials You'll Need:
Scrap clay, mostly translucent colors, one of the "transparent" or translucent colorless clays, like Fimo Soft #014 or Premo! 5310,
white polymer clay, metal leaf, a very sharp tissue blade, a pasta machine, a brayer and some parchment or tracing paper to lay
the little pieces on as you slice them. You'll also want to have some bead bases (white has been best for me, but scrap
clay also works fine) or something to cover with these cool little slices, such as a pen or a paper mache box.
|
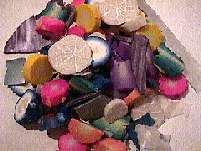
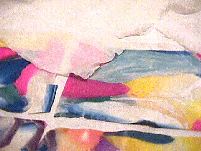
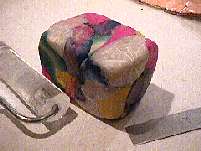
First.... <--- Start with scraps... I'm using mostly transparent colors from leftover canes - I think a little opaque adds a "sculptural" quality to the final piece, but it's easy to overdo the opaque and lessen the transparency of your mokume gane. I've trimmed off much of the black wrap from the canes.... I want the colors to be bright, for this one. If I wanted them more muted, I would leave most of the black in there. Now, smush all of the colors into a big lump... make sure you do a lot of squeezing, to eliminate air pockets. Square it off and give the loaf a few twists. More twisting will result in more mixing of the colors and a more muted end result. Square it off, again. ---> |
|
|
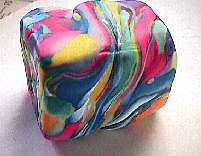
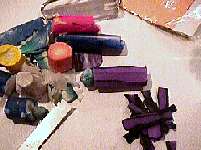
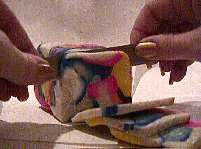
Then.... <---Take slices off of the end of the loaf, about a quarter inch thick.
|
|
|
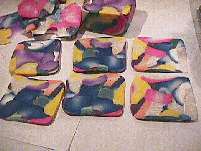
You'll need four to eight of these sheets of rolled-out
color and and equal number of sheets of a translucent, like Fimo Soft #014 or Premo 5310. I like the Fimo Soft best for
this project... very clear & colorless and it's easier to get the very thin sheets that work best.
|
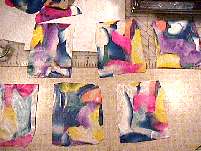
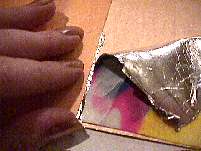
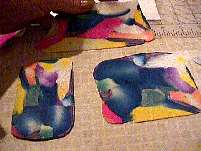
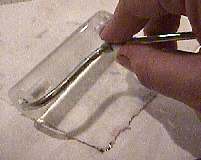
 Pick up the slices of colored clay and lay them on a sheet of metal leaf. I like the silver color best for this, but any color will be fine. |
Cover any "leftover" metal leaf with the tissue of the
booklet of leaf, and pull the sheet of colored clay away from the metal leaf. It will tear away very easily. Don't be too
concerned if the entire sheet of clay isn't lined with metal. Little gaps in the metal won't show by the time we're done.
|
|
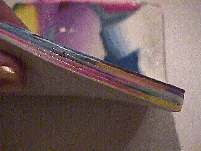
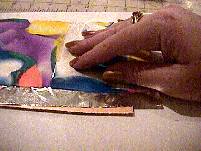
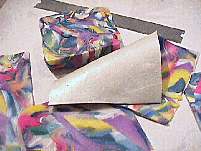
<---Lay one of your very thin (#7, 8 or 9 on an Atlas 150)
sheets of translucent clay over the silver side of the colored clay, trim the translucent to fit the colored clay, and brayer the
translucent down onto the silver side. Take another sheet of colored clay, apply the silver leaf and the translucent layer to that,
and then stack them up and brayer them together. Continue this process as many times as you like. I'm only using a few layers, so I'm going to put the stack onto a layer of white clay for backing. Make sure that you have very good contact between all the layers and avoid air pockets. This is the mokume gane "pad," as it's called. --->
|
|