Let's start cutting.....
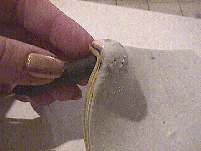
You can start making pretty designs by poking the rounded end of a tool or a marble or some other implement up under the bottom of the stack, forcing the stack to curve over the rounded object. |
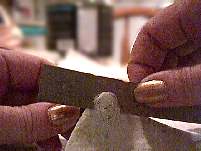
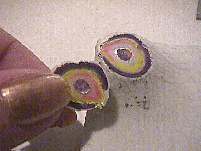
I'm slicing about a sixteenth of an inch off the top of the stack, though what I slice off is very thin at the outside edges. Other slices will go deeper into the stack, revealing different color layers. |
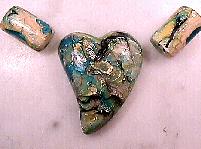
Some cuts should overlap some others... this makes the design more interesting, when it's done. Some cuts should be oblong or oval or pear shaped, as another way to add visual interest. |
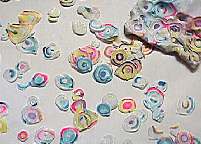
Continue to slice until you have enough little disks to cover the object that you want to cover.
|
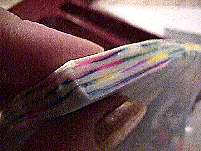
The edge of the pad is beautiful, too....
|
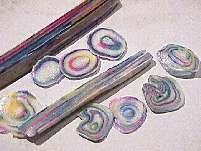
.... and you can mix strips cut from the side of the pad with the little disk shapes cut from the top.
|
|
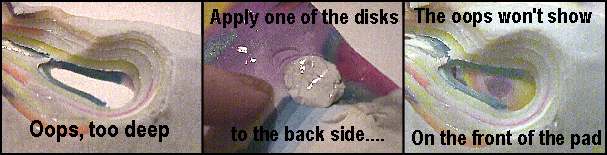
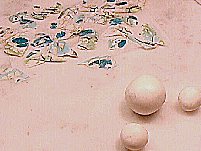
Apply the disks to the bead bases or to whatever
you're covering, smoothing the pieces down carefully, and making sure that
you've got good adhesion among anything
that overlaps.
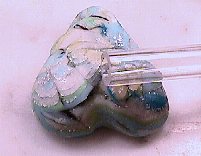
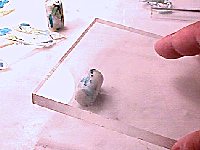
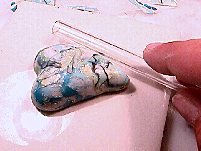
Round beads can be smoothed by rolling on the work surface. Some items can be smoothed by rolling them back and forth or around and around - with a square of Lucite or acrylic. Smooth the item with a brayer if it's irregularly shaped. Be sure that there are no seams apparent. The smoother the item is before you cure it, the less you'll have to sand, later. These disks can be applied to almost anything that you can cover with clay. |
|
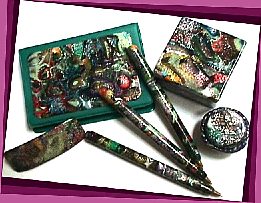
| You can also apply the disks to a sheet of scrap or base clay... I prefer white, now, as it reflects color through the layers better than scrap clay. Rub the disks down with a brayer to make sure they're well attached, and then run the sheet through the pasta machine, first in one direction and then the other, starting with the thickest setting and going to a thinner one. When the sheet is smooth, with no seams showing, you can use the sheet to cover flat objects like these boxes, or things like pens. |

|
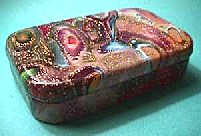
The box on the bottom has tiny dots of dimensional foil around the design and a thin line around the outside edges. |
|
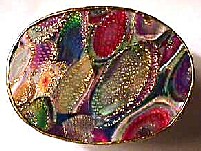
I like how you never really know what you're going to
have until you've cured and finished the piece. The translucent clay becomes
much clearer, and really lets the colors show
through. I finished
this by wet-sanding in successively finer grades of sandpaper, then buffing
with a muslin wheel on a
rotary tool. If you don't have a buffer, you can substitute a coating of Flecto
Varathane Diamond Elite
(gloss, matte and satin available) or of Future floor finish.
You can also add touches of the Delta Renaissance type foil to the mud- pile project after it's cured. It's intended for fabrics, but it works well on clay items that won't be handled a lot. Just put little dots of glue on the surface in a design that follows the curves in the mokume, and lines of foil around the edges of the box or other contour. Wait 24 hours and apply the foil to the glue. The design itself will suggest placement of the dots, while the contour of the piece will suggest other places to use the foiling. It's adding yet another dimension to an already "deep" surface. |
You seal the project with a varnish, after you get the surface treatments finished. I'm sure you'll find all kinds of innovations and inclusions for your own projects. Hope you'll have fun with this. |